
I’ve got a record, now what?
I think that one of the biggest strength’s and challenges of working with the MarcEdit application is that there are generally more than one way to do anything. The program was designed with the idea that the application should be able to adapt to your workflows, not the other way around. However, because of this, the program can sometimes be difficult for the first time user looking to make those first record edits. Consider the following scenario:
My library has recently purchased access to 2500 ebooks from Acme EBooks. As part of the contract, Acme has provided the library with MARC records for each available ebook. The records are ok, but we’d like to do some work on them. First and foremost, the records include multiple URLs and we’d like remove all the access points except for the one pertinent to our library. Secondly, these records lack call numbers and we’d like the items to show up in our systems browse features. Finally, there are some notes and quality issues we’d like to deal with before loading the data into our catalog. We’ve downloaded MarcEdit, but I’m not sure where to go next. The file the vendor set me is myrecords2013xxx.bin, can you help?
This is actually a fairly common scenario, a good way to introduce users to the MarcEdit application. So what does the user do?
Well, the first thing to understand is that because MARC is essentially a binary file format, the record needs to be taken out of the MARC format in order to edit the data. Most MARC tools work with is way, and MarcEdit is no exception. MarcEdit provides two primary tools for the transforming and editing of MARC data. The first tool is the MarcBreaker/MarcMaker. This pair of tools provide the graphical interface to MarcEdit’s MARCEngine — the code responsible for processing MARC data. These “making” and “breaking” functions allow users to take data found in MARC and break the records into a mnemonic format that MarcEdit can read (and the global MARC editing tools can interact with).
 | MarcEdit’s mnemonic format is a very precise, but simple format. The key formatting rules to follow are: Field data must always be on one line. A new line represents a new field in the mnemonic format. A blank line is an indicator for a new record. The field format is as follows: =100 \\$adata. The parts are specific. All new fields begin with an equal-sign, followed by the field number/tag. Following the field number/tag, are two blank spaces. Following the spaces are the indicators. Blank indicators are presented as ‘\’ or spaces. Finally, after the indicators, is the field data. Subfield characters are represented by a $ + character code. |
Users then work within the MarcEditor using that mnemonic file, making their desired edits to the records. Once those edits have been made, users then need to “make” that mnemonic file back into MARC — and it is that file, not the mnemonic file, that the user would load into their catalog.
Before a user can edit their MARC data in the MarcEditor, the MARC records need to be “broken” into the mnemonic format. If the file has a “.mrc” extension, just double click on the file, and as long as MarcEdit is installed, the program will open directly to the MarcBreaker. However, if the file that you wish to process does not have a .mrc extension, use the following steps:
Step 1: Open MarcEdit
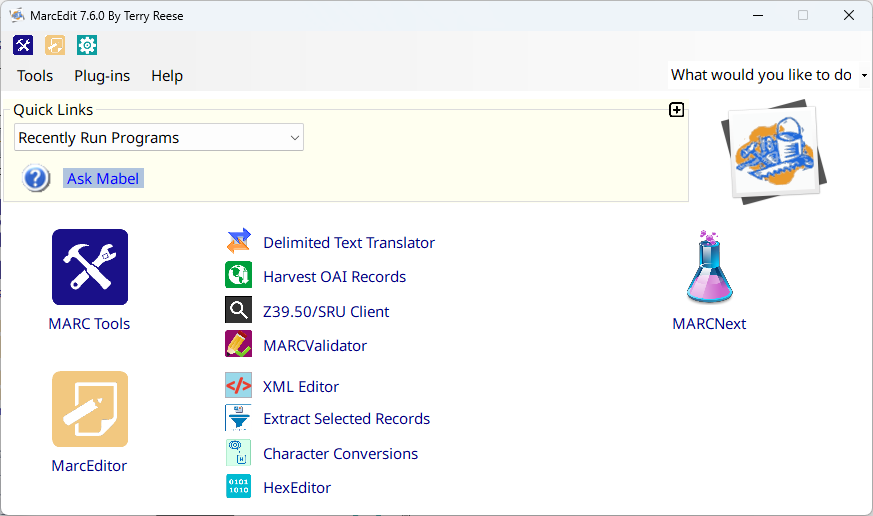
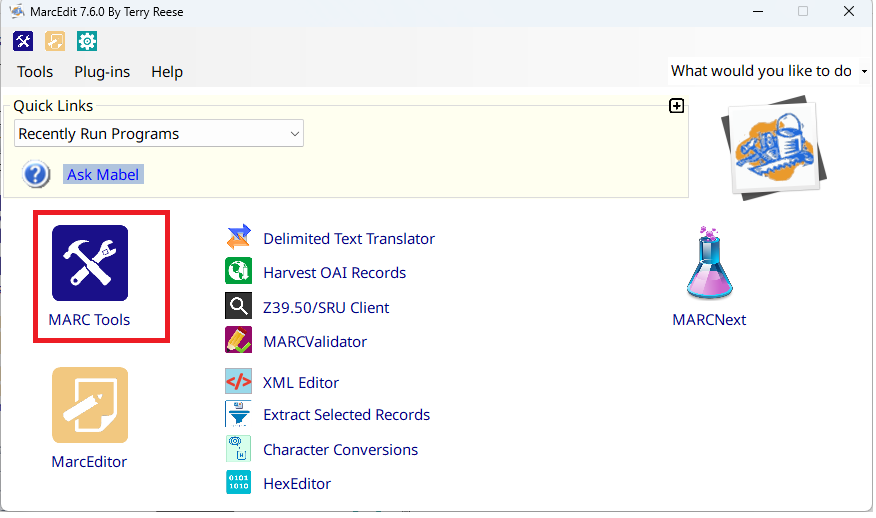
Step 2: Click on the MARC Tools link
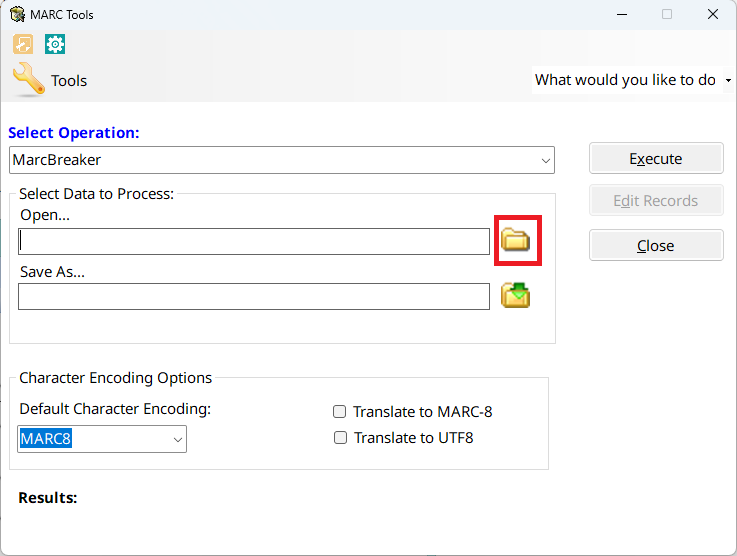
Step 3: MARC Tools will open…Click on the Open folder in the menu or the browse link next to the input file box
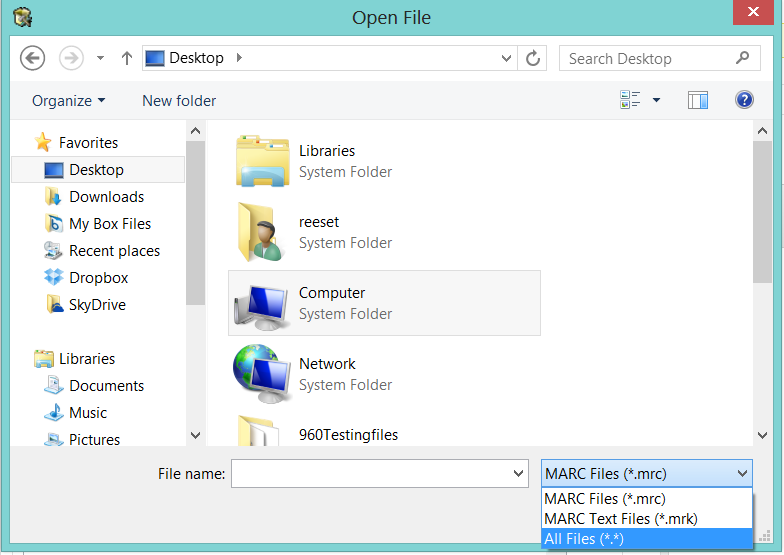
Step 4: In the Open Dialog, Change the File type to All Files, and navigate to the file you want to process.
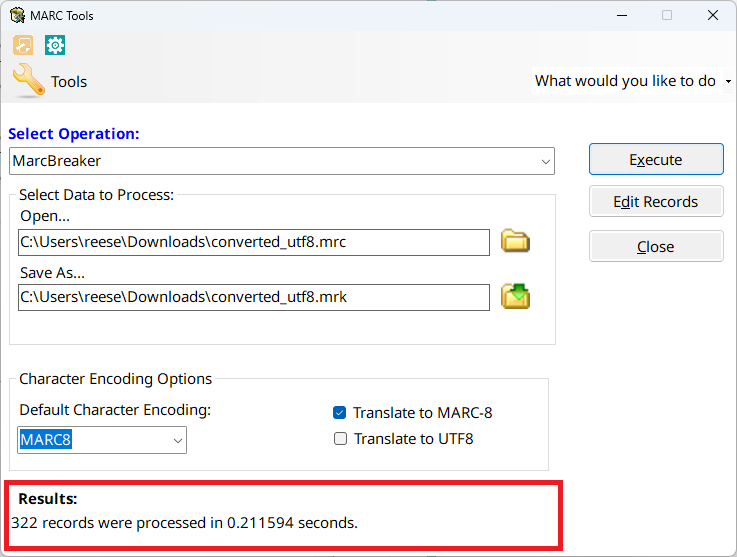
Step 5: Click on the Save menu icon or the browse link in the Output file box
Step 6: The Input and Output files cannot be the same file. Once the Input and Output files are defined, and the MarcBreaker option is selected, click on the Execute Button.
Step 7: Once the Execute Button has been clicked, the program will “break” the file. The results of the process will be placed into the Results box and the Edit Records Button will become enabled if the conversion was successful.
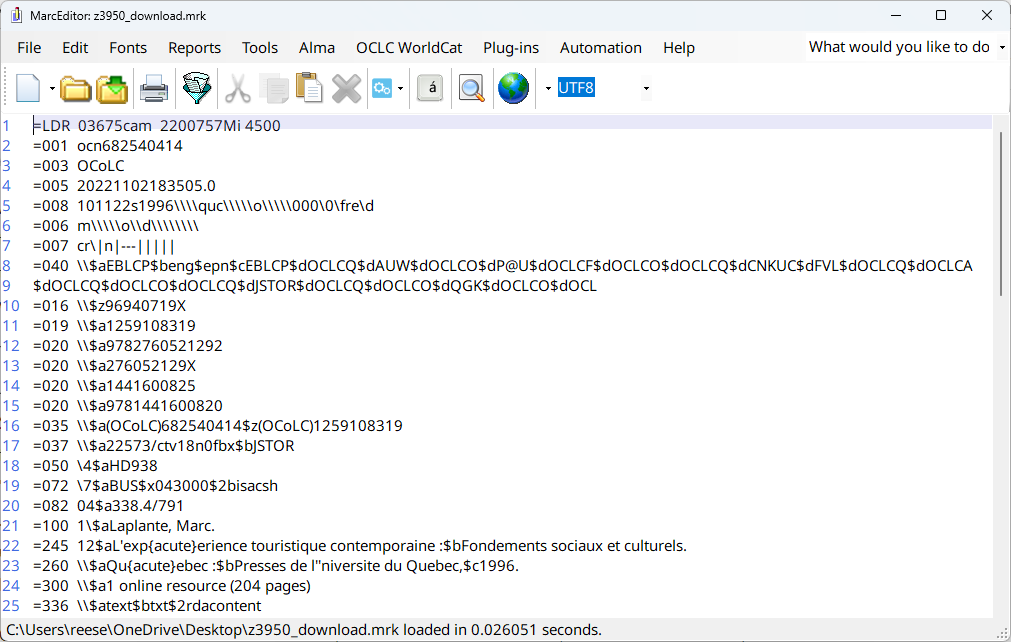
As long as the record data in the specified input file is valid, the process described above will allow a user to take their MARC file and “break” it into the MarcEdit mnemonic format. At this point, the user will have two files — their original source record provided by the vendor and the .mrk file created by MarcEdit when the MarcBreaker “broke” the file and generated a mnemonic file for editing.
How do I edit my MARC file
So, again, MarcEdit’s MarcEditor doesn’t edit MARC records directly…it edits the MarcEdit mnemonic file format. In the paragraphs above, I described the process for taking a vendor supplied MARC file and “breaking” that file into the MarcEdit mnemonic format. Using the MarcBreaker, MarcEdit will generate a .mrk file — a file the MarcEdit has designated to represent a mnemonic file. It is at this point, that the user can edit their MARC data, using the mnemonic file, in either the MarcEditor or in another tool like Notepad, Notepad+, or UltaEdit.
Once a set of records has been successfully loaded into the MarcEditor, the user has the ability to utilize a wide variety of global editing tools and utilities. For more information on the tools and utilities available within the MarcEditor, please see Book III.
I’ve made my changes, now what?
Once a user has made their changes to the mnemonic file, what’s next? What happens when I save the file? Can I load the .mrk file back into my local system? These are great questions.
What happens when I save my file? One of the most common misunderstandings comes around what happens when you save a file within the MarcEditor. There is a misunderstanding that saving the record will automatically convert the record data back to MARC. This actually isn’t the case. When a user saves a file within the MarcEditor, the program will save the mnemonic file and does not convert the data back into MARC. The conversion process is normally a separate operation. The only exception to this rule is when a user selects the Save As option and select the MARC Binary (.mrc) file type. In that case, and only that case, will the MarcEditor automatically convert the data in the MarcEditor into MARC.
Can I load the .mrk file back into my local system? The answer to this question is no. The .mrk file represents MarcEdit’s mnemonic format, and would be incompatible with your local MARC system. The file in the MarcEditor must first be “compiled” back into MARC, before it can be loaded back into one’s local library catalog.
Once a user has editing a set of MARC records in the MarcEditor, they have a number of different options for converting that data back into MARC. I’m going to detail the most straightforward process that can be utilized from within the MarcEditor.
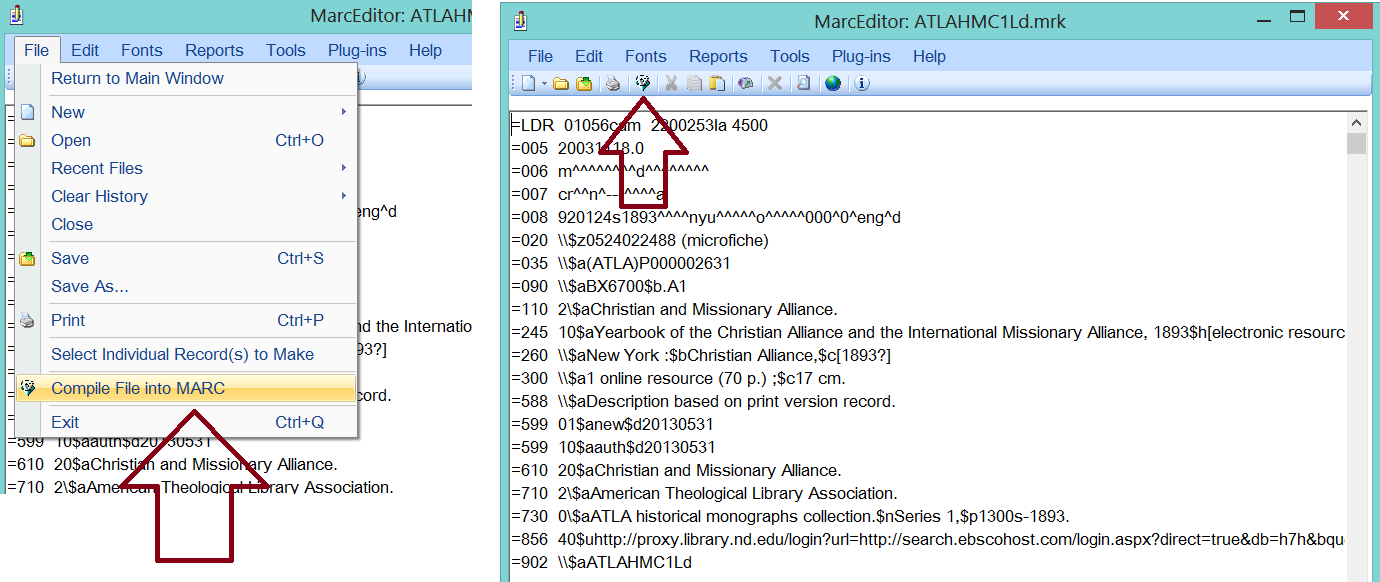
Step 1: Save your changes. You don’t have to save your changes prior to compiling the mnemonic file back into MARC, but it’s a good practice.
Step 2: Select the “Compile Records” icon from the toolbar or select “File/Compile File into MARC” from the menu.
Step 3: When prompted, select a save file…the file where the MARC Data will be generated.
Step 4: When completed, the file generated through the “Compile” process will be compatible with MARC systems.
Conclusion
By no means do the above methods represent the only workflows for “making” and “breaking” MARC data for editing. One of the strengths of the application is the MarcEdit supports a wide variety of workflows, allowing users to utilize a process that fits the way that they work. Rather, the above methods demonstrated some of the most common workflows for taking vendor supplied data and transforming it into MarcEdit’s mnemonic format for editing within the MarcEditor and then compiling that data back into MARC.